|
10mm pressure testing
benchrst builds a Pressure Trace platform PART 2 |
|
1: Any attempt to duplicate / simulate, actual or otherwise, is at own risk. 2: I firmly believe this device is in compliance with ATF "can own it, can build it" guidelines. 3: I have no illusion that results will be definitive. This project now spans four pages. Part 1: The initial build. Part 2: This page, Updates and modifications. Part 3: Additional updates Part 4: Progress Results are here. 05.10.17 Update: Initial tests we succesfull in terms of functionality, but resulted in cropped or "flat top" traces. Flat-top trace: 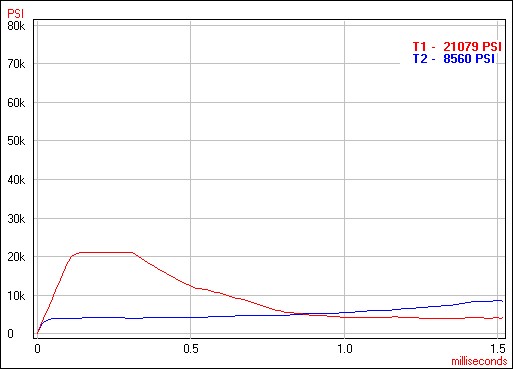
In the example above nothing is shown above 21K even when the cartridge exceeded that pressure. Communicating with Jim at RSI (Recreational Software, producer of the PT II), who has been very helpful, he supplied the following response: "The problem is that a (my specific) 10mm barrel is so thin it exceeds the normal design parameters of the system. It is designed so with a normal bolt action rifle and 1.25" O.D./.308 dia chamber, anything that exceeds safe pressures will flat line. There is a workaround." Below are the results from adjusting the parameters to 'cope' with my thin walled barrel. 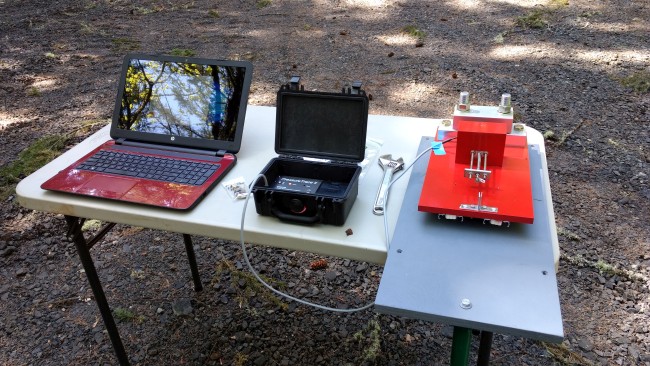
155 XTP 9.8 800X 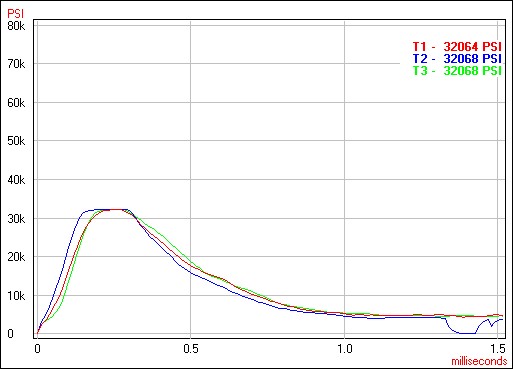
200 XTP 7.8 800X 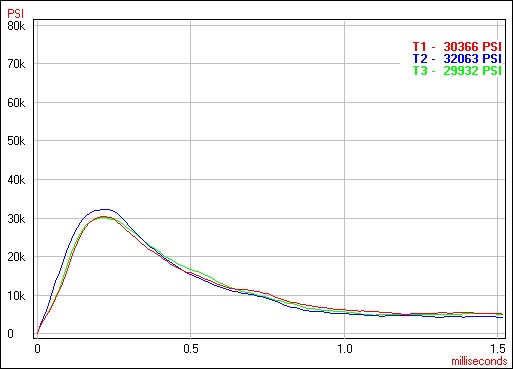
Hodgdon's results for the loads shown above. 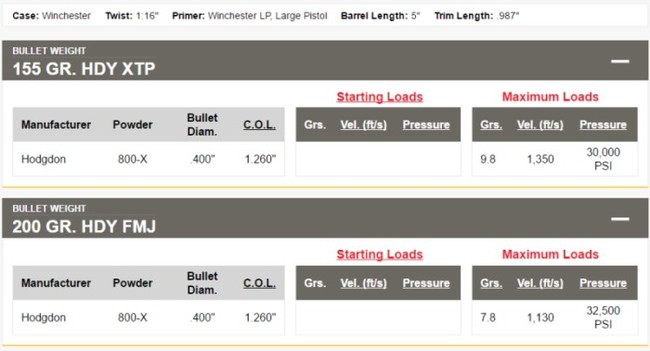
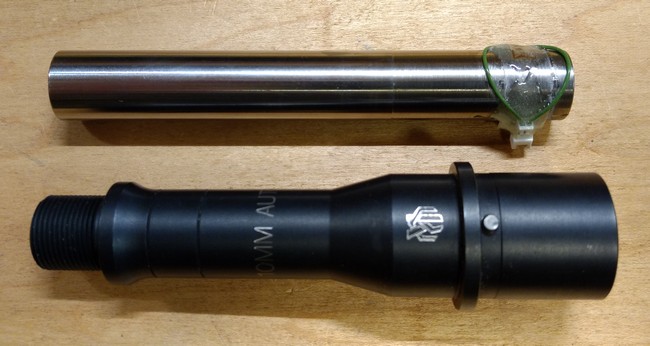
I have no expectation that my #s will match Hodgdon's, but a consistent "close" over a wide variety of loads would help to validate the system. The trace is still flat topping, and I've reached out to Jim to get his continued input. The cut-down LW barrel may or may not have to be abandoned - regardless, two additional barrels will be used, each one to validate the other's readings. I ordered a Kaw Valley AR barrel, it's chamber's walls are significant in comparison to the LW. I should have it in about a week. Green Mountain's run of .40 blanks will be complete by the end of the month, so with delivery and reaming it's likely 60 days out. I feel good about this system eventually providing useful and accurate information. 05.15.17 Kaw Valley barrel arrived, hope to get it on the lathe this Wednesday. Original Lone Wolf 'turned down' barrel on left, Kaw Valley AR barrel on right. 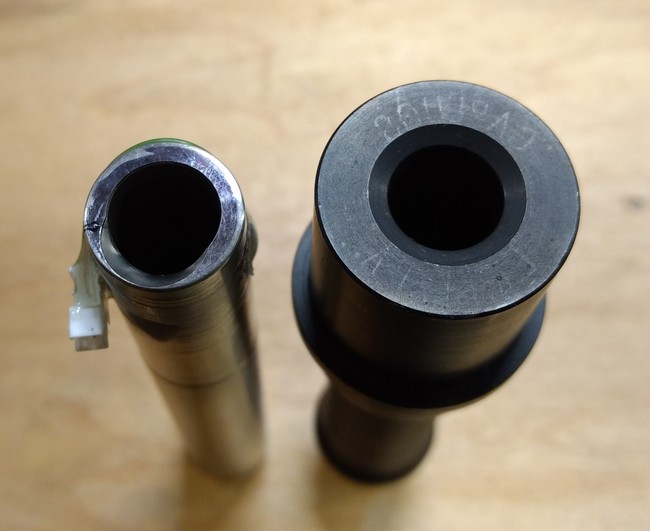
05.17.17 Kaw Valley barrel profiling for the platform is complete. Starting the process, turning down the section of the barrel that comes in contact with the barrel vice. Diameter in that area dictates where the firing pin will strike. 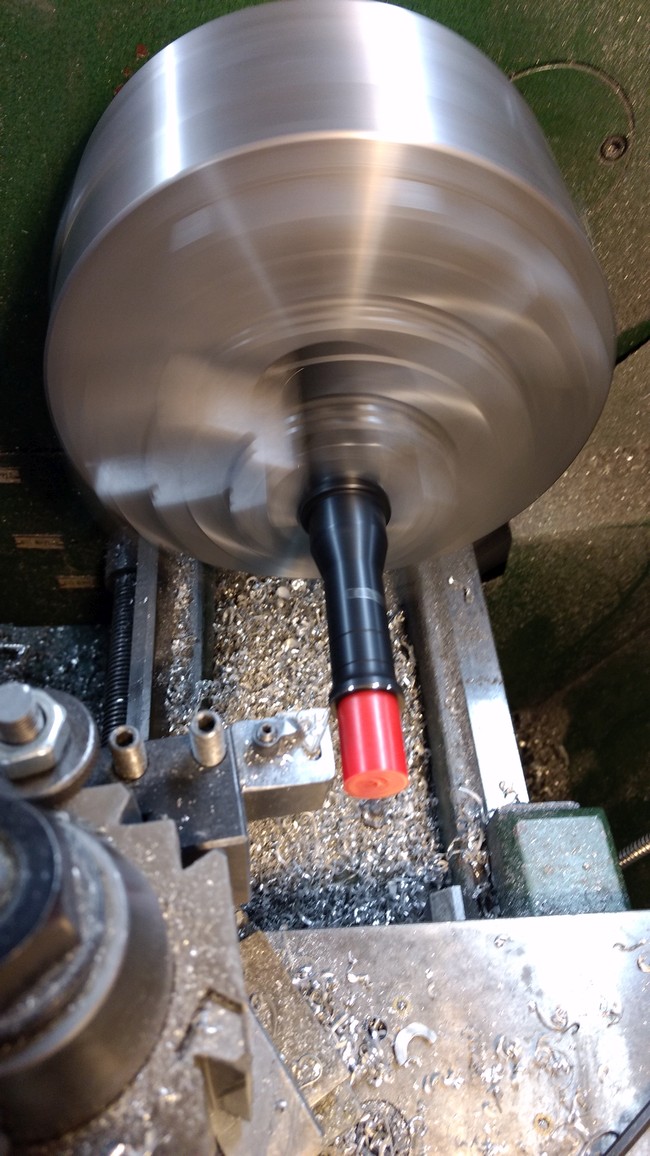
Original profile. 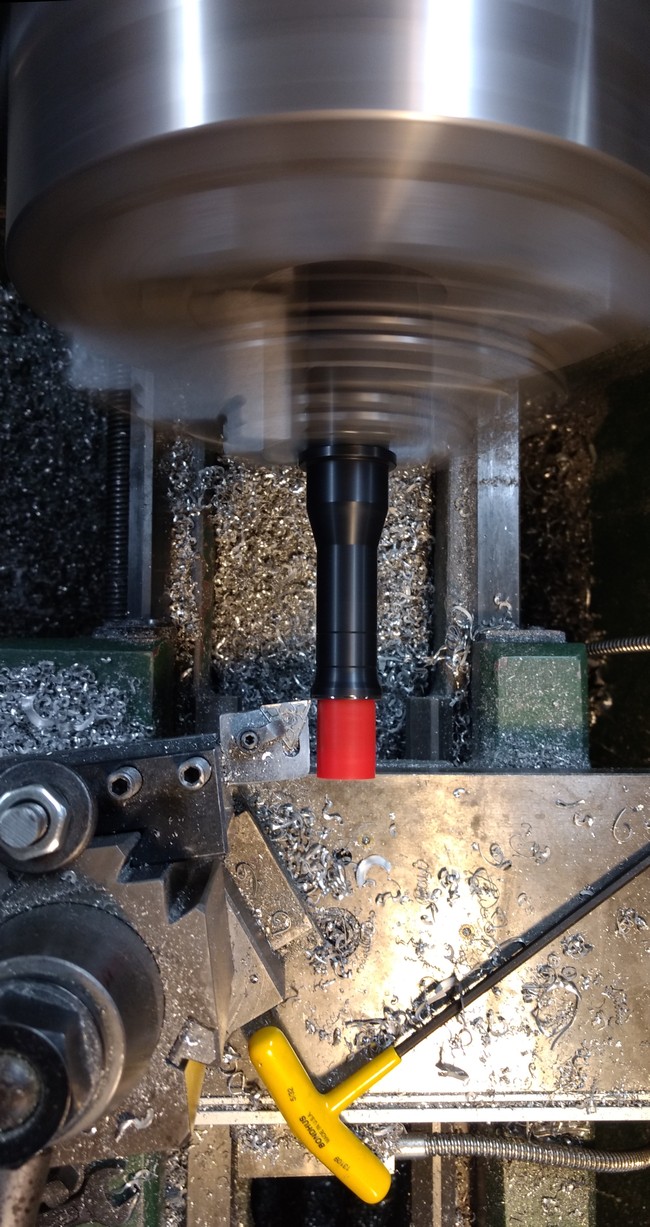
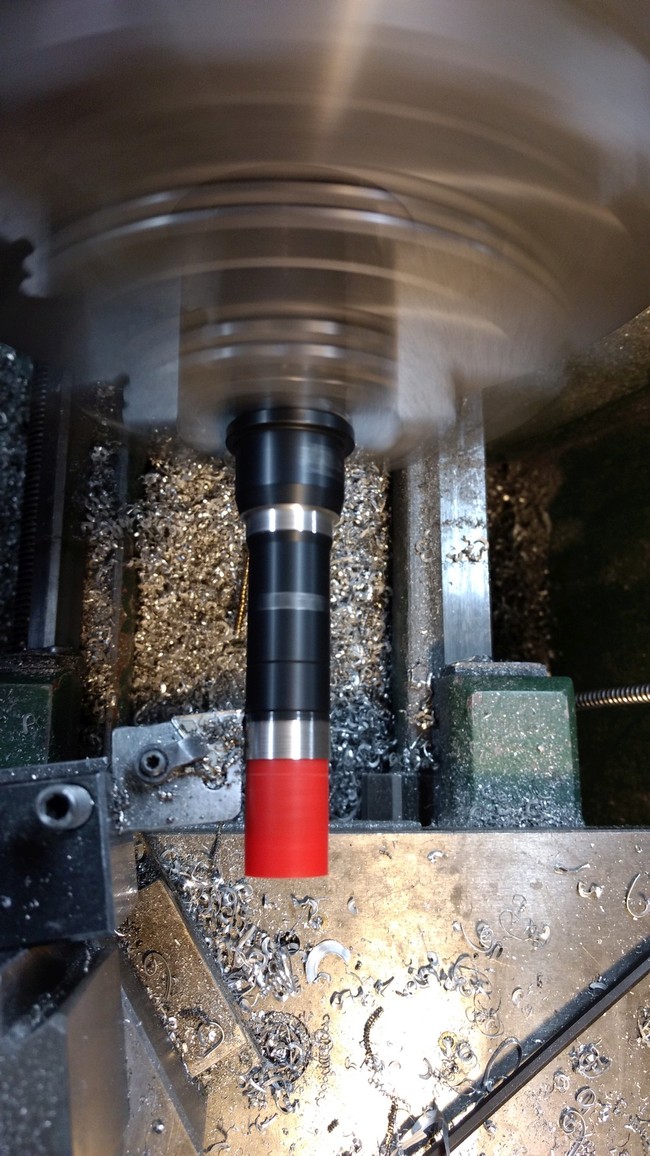
Almost complete. 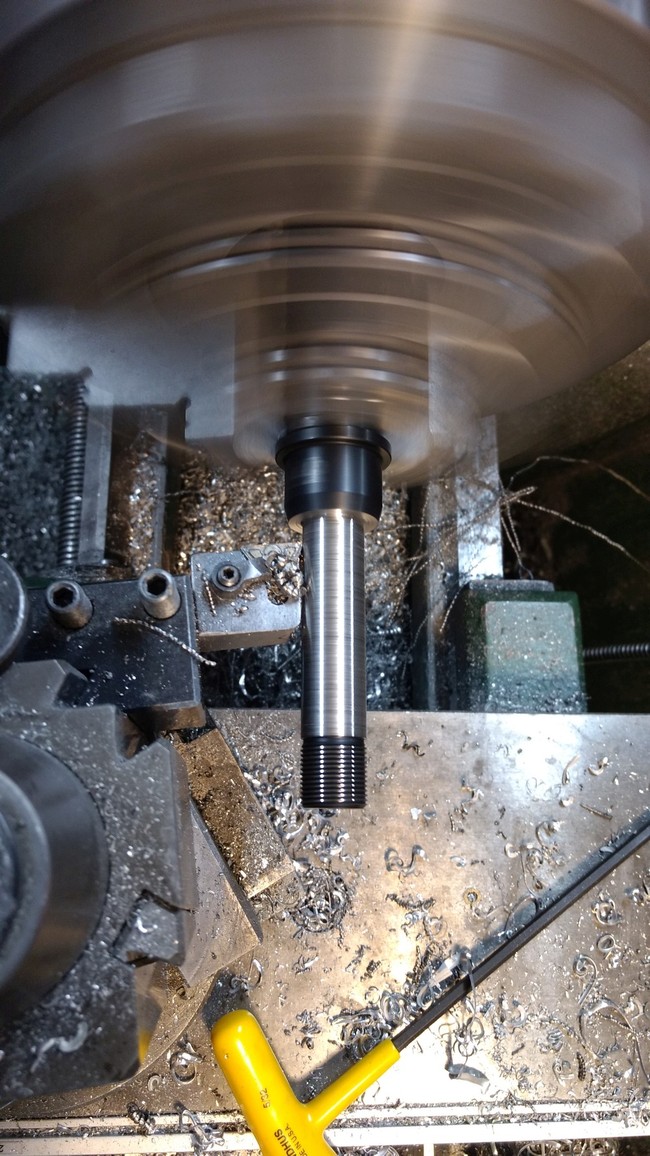
Breaking the finish on the chamber end to ensure good adhesion of the strain gauge glue. Only a few thousandths was removed. 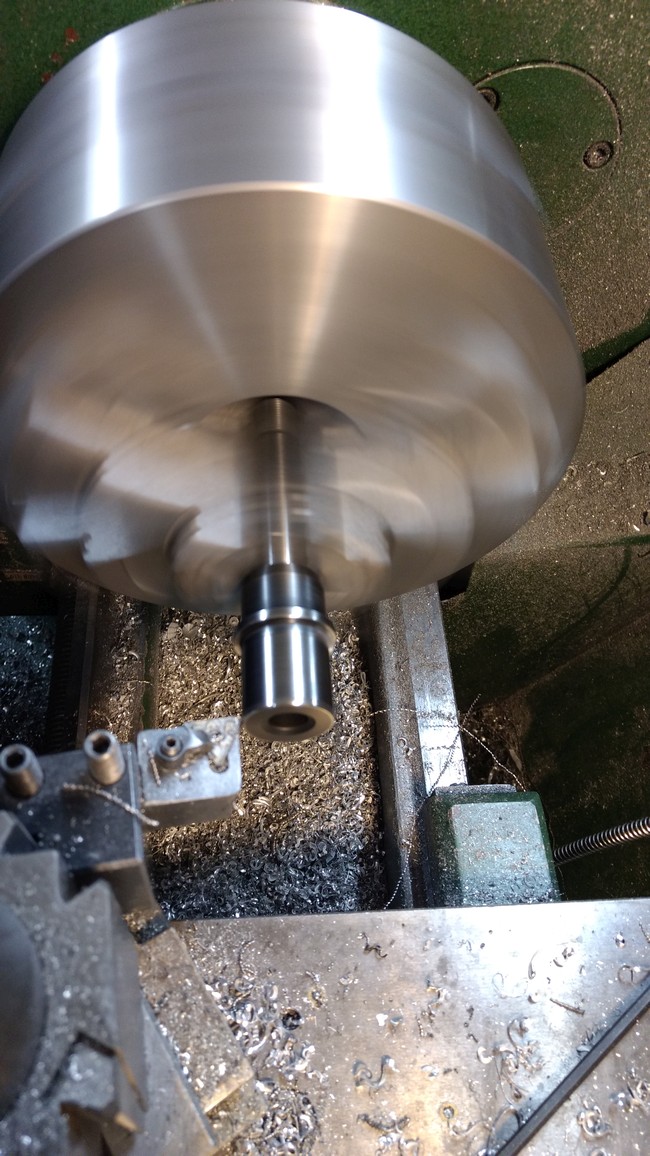
Profile complete. 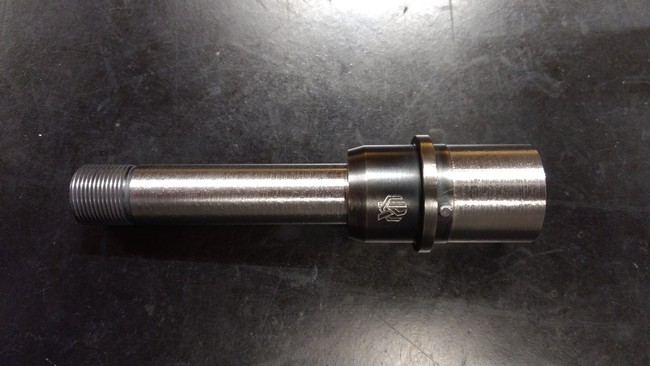
Installed in the platform. 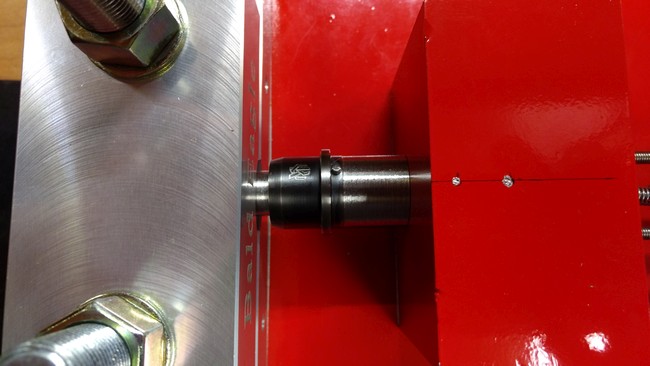
All that's left is to glue up the strain gauge! 05.18.17: Gauge installed. The strain gauge needs to be mounted perpendicular to the bore axis. 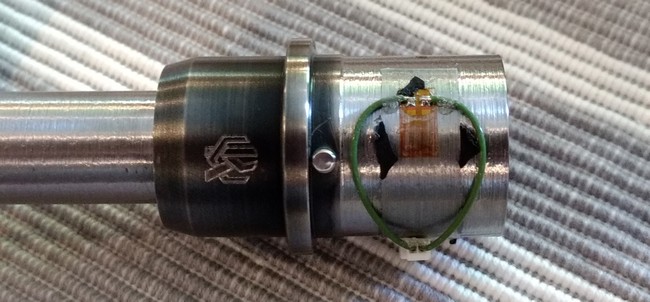
Case chambered, dummy round set for reference in relation to strain gauge placement (gauge needs to be about center of cartridge, and 1/4" from differing metal thickness). Bits of black around the gauge connection and substrate are what my rubber glove left behind after the glue setup. Learned the hard way the first time ;) 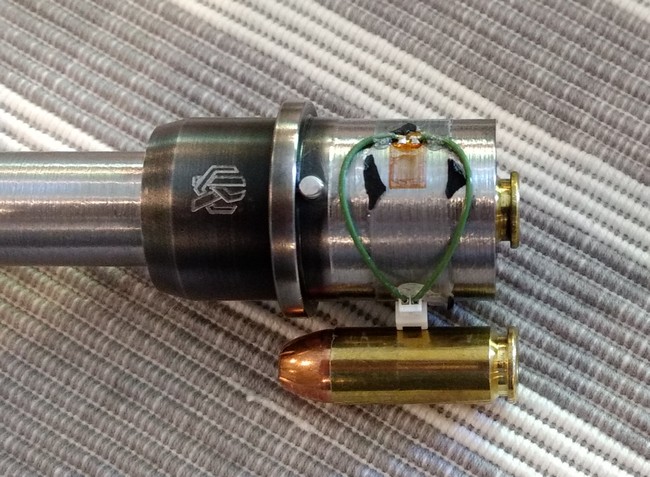
05.23.17: Green Mountain .40 cal blank ordered today, likely have it ready for testing in 3 weeks. 05.26.17 Did some limited testing on the 24th and ran into a few functionality issues: The striker spring was binding when compressed, slowing the striker on release. This caused the need for multiple restrikes; The barrel clamp profile isn't the same as the barrel, which allows a bit of left-or-right swing when it's cinched down - this created off-center primer strikes. Solutions :) Scribed line indicating the center of the striker allows for simple cartridge alignment. 
Looking over the thrust block, centering the cartridge. 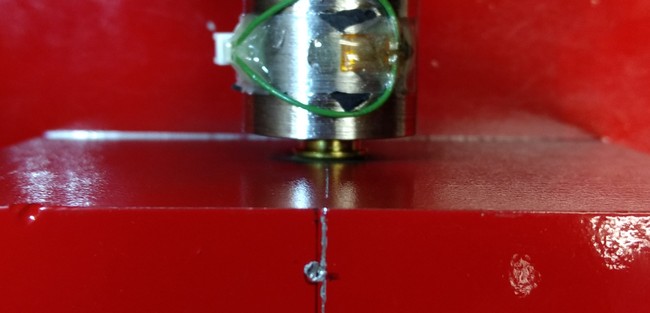
The striker release "keepers", kept in place by one bolt each, were rotating inward under the spring pressure, in turn binding release. Not having bolts short enough (impact the track on the underside) I drilled small holes in the base (where the "2nd" bolt would go) and filled with epoxy. Worked :) 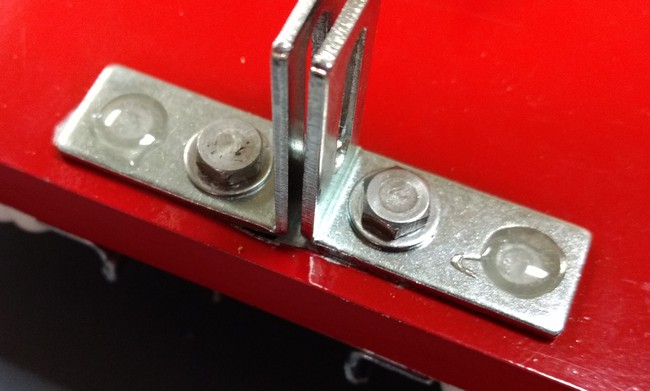
Striker spring mod, epoxy and a washer. 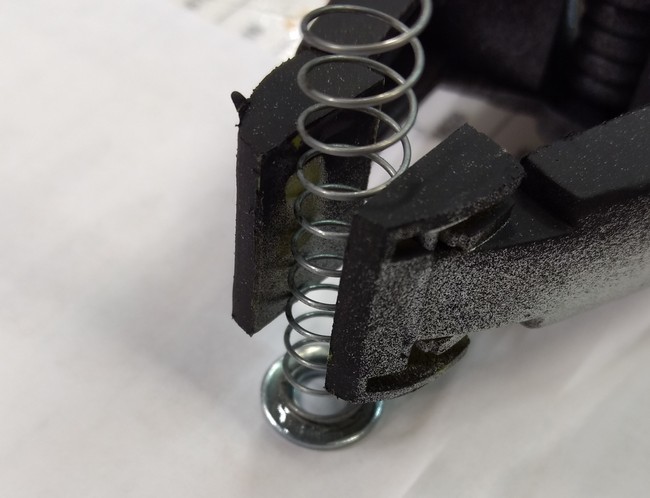
Washer prevents the thin wire spring from bingding against the all-thread striker. 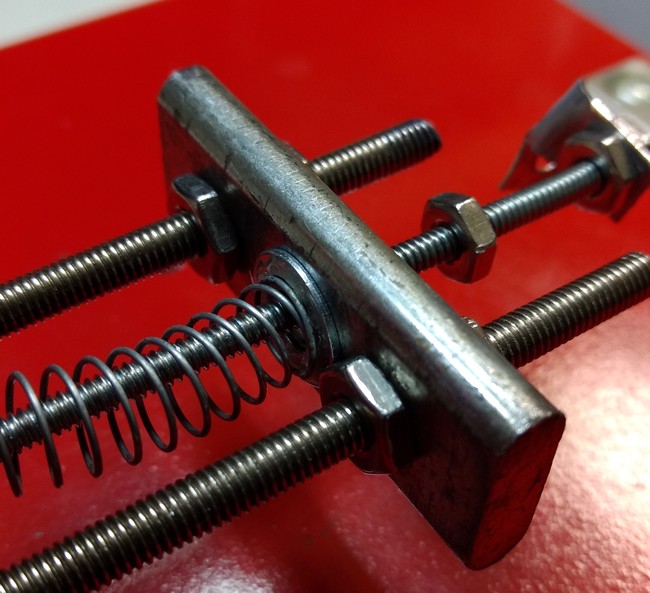
Fun part! He who sets his striker 'depth' too deep will blow primers! 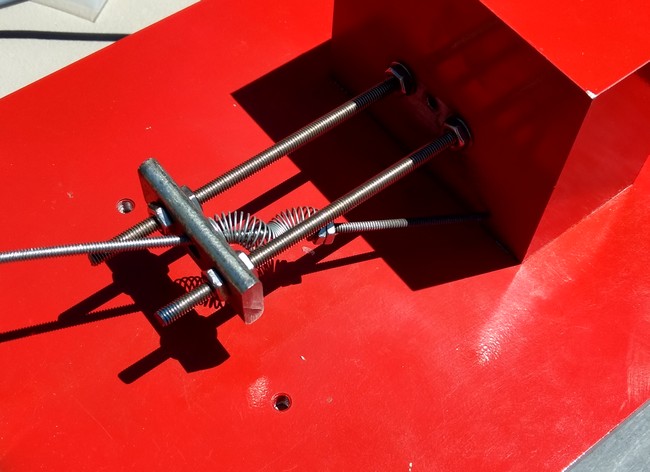
Blew the striker completely out of the thrust block, bent one of the 'keepers', and trashed the striker keeper-pin link. Luckily I travel with really cheap pliers, back up and running in minutes ;) 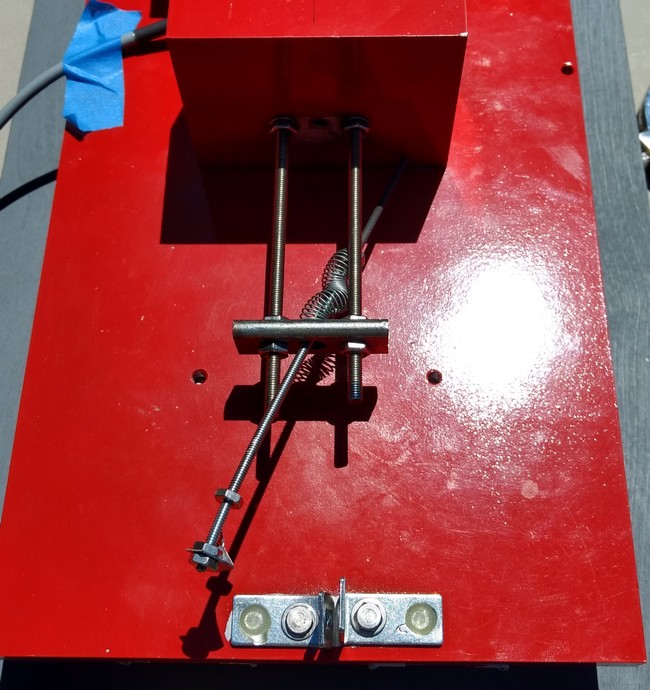
Results? I'm working on that part :) 05.27.17 Cyanoacrylate adhesives have a shelf life. The first two gauge installations (LW barrel) used glue supplied by RSI. The Kaw Valley installation used approved Loctite 401. I've read that anything less than a perfect bond will yield lower-than-reality pressures (how fresh was the Loctite?). 2nd gauge attached to Kaw Valley barrel using RSI supplied glue (cured RSI and Loctite 401 do not have the same appearance). 
Part 3: Continued. |
|
05.17.17 © 10mmreloaded @ gmail.com Any use of information contained within these pages constitutes an agreement to hold the author and web host harmless Copyright names property of respective owners Index |