|
10mm pressure testing
benchrst builds a Pressure Trace platform PART 4 |
|
1: Any attempt to duplicate / simulate, actual or otherwise, is at own risk. 2: I firmly believe this device is in compliance with ATF "can own it, can build it" guidelines. 3: I have no illusion that results will be definitive. This project now spans four pages. Part 1: The initial build. Part 2: Updates and modifications. Part 3: Updates and modifications. Part 4: This page, making progress. Results are here. 06.09.17 I am not an engineer, machinist, or gunsmith. That reality is beginning to sink in. Wednesday's testing was going smooth, and resulted in consistent traces. 
The 1st trace in the image directly above shows a delayed primer ignition, possibly caused by damage to the primer when it didn't fire on the first strike. Challenges, or less than reliable ignition. 1 Off center primer strikes: Line scribed on the trust block for centering the cartridge seemed like a good idea in practice, in reality it proved difficult to see in bright sunlight. 2 Light primer strikes: Striker spring version 2 (and it's mods) didn't quite work out. The spring under compression was binding against the threaded rod (striker) on release, and didn't have enough power. 3 Striker / striker channel: The Striker is a piece of all-thread with the threads minimized where it passes through the thrust block. The thrust block is aluminum. The striker binds in the thrust block. Ideally the thrust block would have a steel sleeve inserted for an appropriately sized striker to pass through, but that's a time vampire that'll have to wait. So... A few new parts. 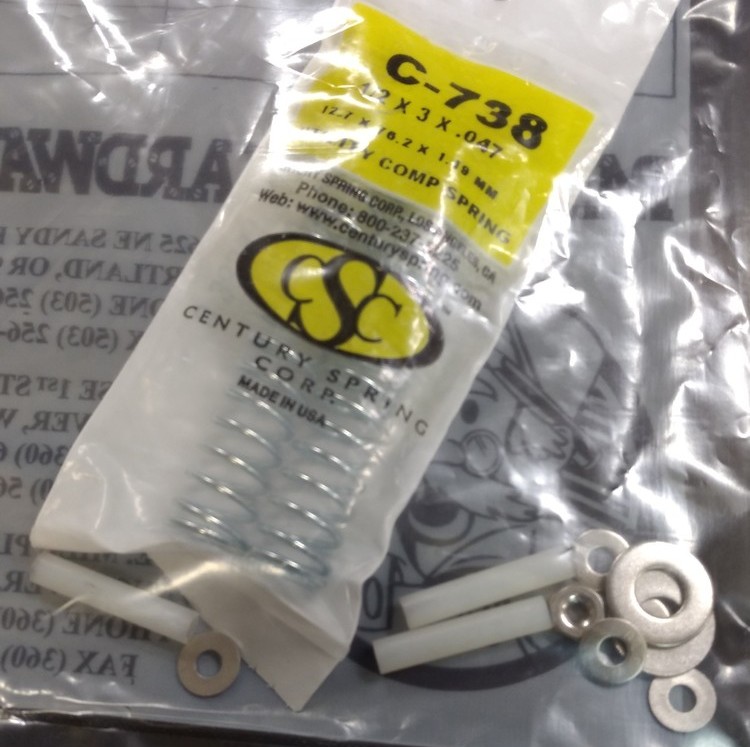
The underside of the metal base. The six screws retain the thrust block. 
Thrust block removed, drilling for the striker sleeve. 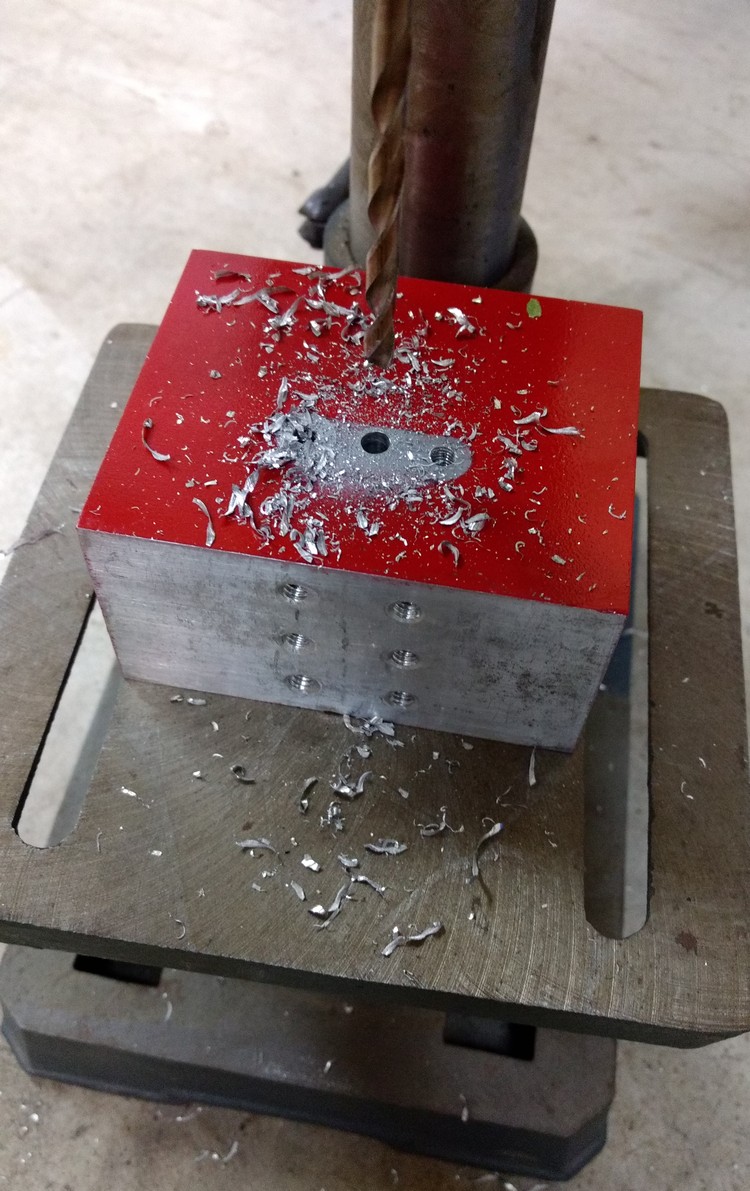
Needing a way to center the cartridge on the striker I searched the garage for inspiration, and found Lee's Auto Disk 1.09 is a close fit. 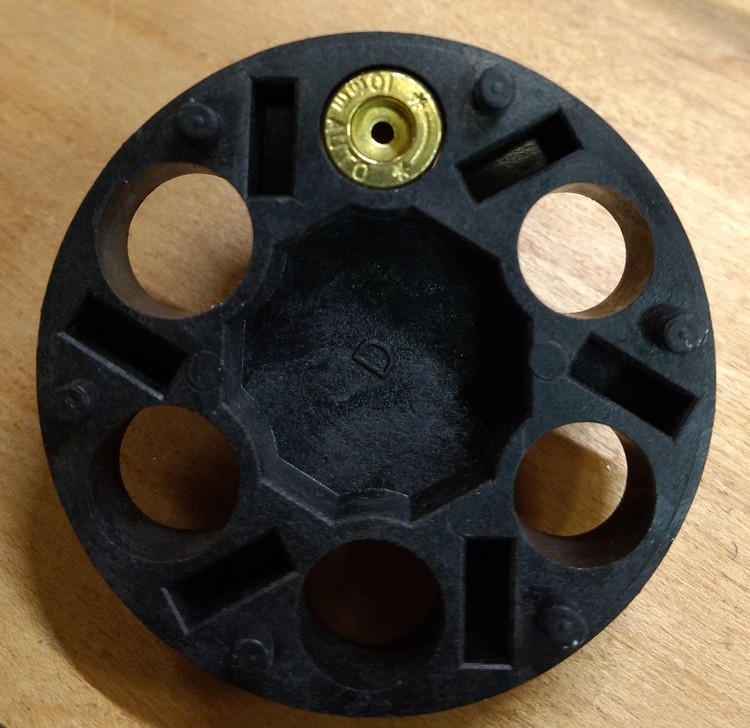
Figured I could section the disk, sand it to the appropriate thickness, and epoxy it to the breech face. Took the thought a bit further and realized that 'up' and 'down' are dictated by the barrel vise, and that side-to-side placement is what was needed. It also had to be field adjustable. This project is function-over-form, aka 'what do I have in the garage that'll work'. Undermount sink clips :) 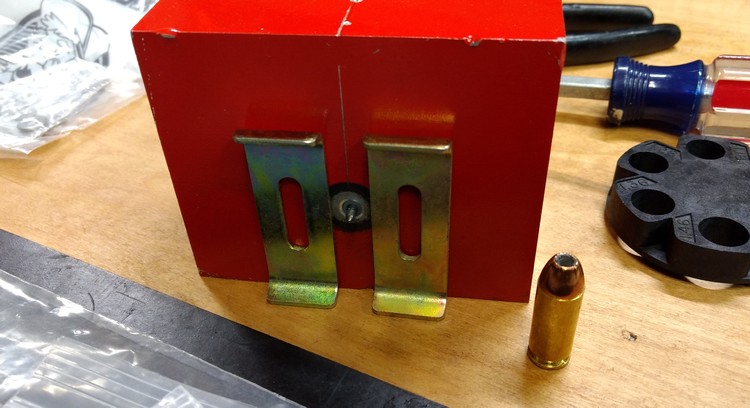
Clips installed, there's several thousandths play with the bolts loosened. The sheet metal strip is the new breech face (primer would have expanded into drilled out striker channel). 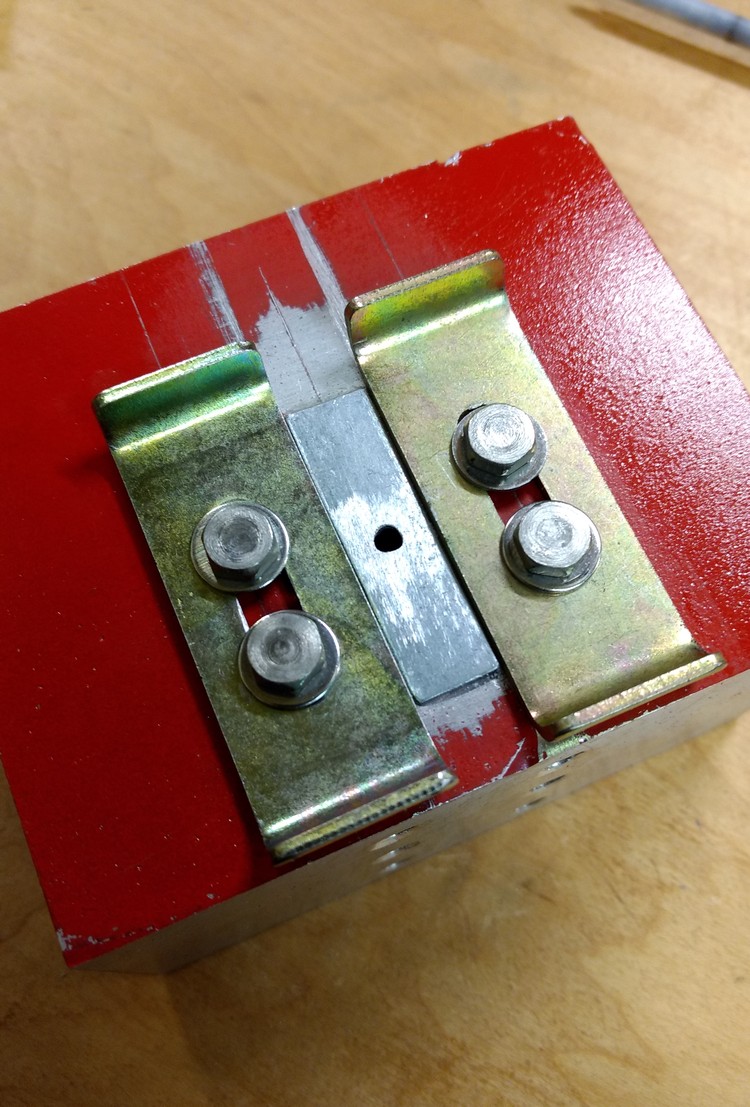
Cartridge is now easily 'centered'. 
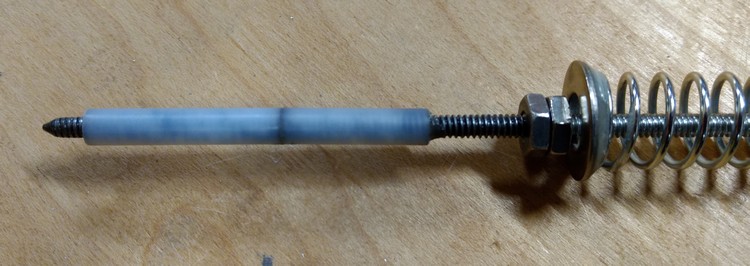
Striker with nylon bushings epoxied into place. New spring has more force, and doesn't bind on the all-thread. 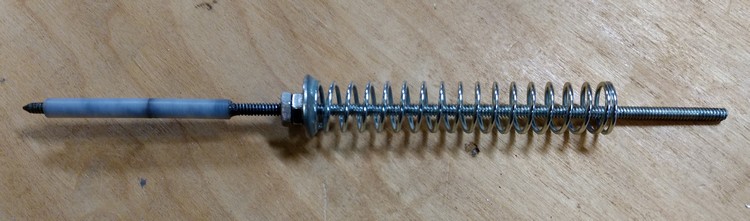
Reassembled. 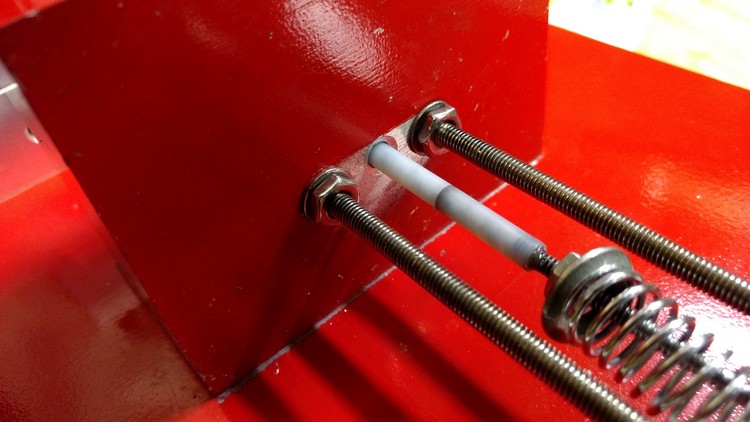
Striker depth exagerated for picture. 
Onward! |
|
06.09.17 © 10mmreloaded @ gmail.com Any use of information contained within these pages constitutes an agreement to hold the author and web host harmless Copyright names property of respective owners Index |